
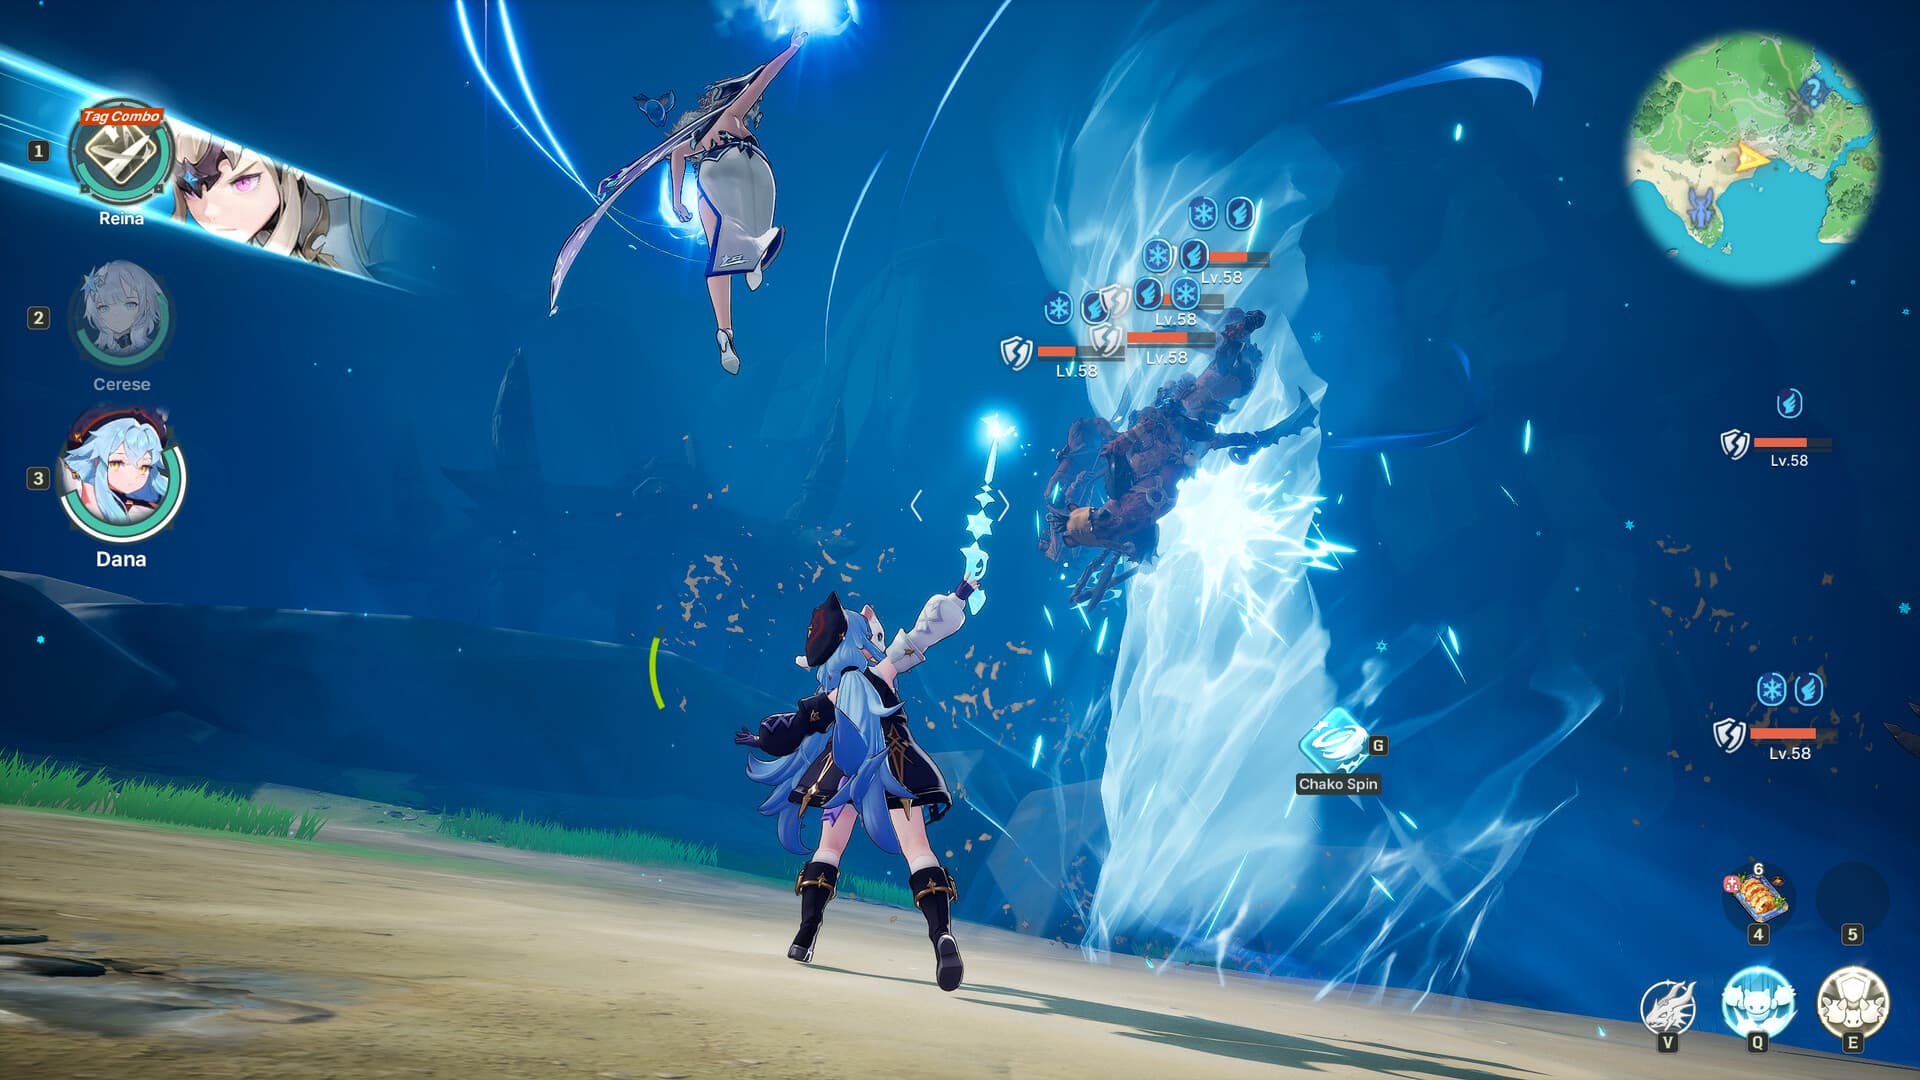
The best DragonSword : Awakening team is not simply the three highest-ranked heroes. A working party connects one hero's Status Ailment to another hero's Signal Skill, then uses the third slot for recovery, control, range, or another compatible handoff. The teams below are official demonstrations or attributed community recommendations reviewed alongside version 1.0.8. No source proves one universal best lineup for every enemy and player. [S01] [S07] [S10]
Team system
The official combat description explains the foundation. Active Skills build Status Ailments, compatible Signal Skills create switching opportunities, and heroes can continue the chain through repeated swaps. A team should therefore be read as an ordered interaction, not three independent character ratings. [S01]
Begin by identifying the hero who creates the first reliable condition and the teammate who can respond when the Signal prompt appears. Then decide what the final slot contributes when the ideal chain breaks or the encounter changes. Recovery can protect a long boss attempt, control can preserve an opening, and safer range can reduce risky approaches. These are planning categories drawn from the source teams, not permanent official classes. [G07] [G10] [G12]
Equipment, Karma, skill investment, enemy resistance, and execution all affect a lineup. Community authors often use words such as best or strongest, but those labels describe their tested route and preferences. Each recommendation below therefore names the source behind it. [G08] [G09] [G10]
All-purpose team
Theresia + Roxy + Lute has the strongest cross-source support for a general progression team. BiggySweats includes it among his recommendations, while The GamesEdge independently presents it as the safer, balanced form of a Bleed and Stun setup. This makes it a useful team to test rather than an official default party. [G09] [G10]
The GamesEdge sequence starts with Theresia applying Bleed and creating a Stun opening before Roxy enters to continue pressure. Lute takes the third position for recovery, additional Stun, and general utility. The author prefers Lute in difficult encounters because Healing Circle adds sustain during longer fights. [G10]
Every step in that sequence is a community strategy rather than an official rotation. Enemy resistance, movement, and player timing can interrupt the expected handoff. Test whether the Signal prompt appears consistently before committing long-term resources to the group. [G10]
The GamesEdge offers Castella as an alternative to Lute. That change sacrifices the author's preferred recovery option in exchange for more aggressive Stun and control. The guide describes Theresia + Roxy + Castella as the offensive control version while keeping Theresia at the center. It does not establish which version has higher measured damage under equal gear. [G10]
For a less specialized opening, The GamesEdge recommends Lute + Theresia + Ornette, then suggests replacing Ornette with Roxy when the account is ready to focus on Bleed. The claimed early availability of each member is not fully verified in the collected unlock evidence. Exact timing is therefore To be confirmed. [G10]
Official example
Hound13 published a Lute + Castella + Aria tag-combo preview. The clip confirms that these three characters can participate in a coordinated switching sequence. The release-build community analysis describes Castella opening through Break and Stun, Lute continuing with Stun and Knockdown, and Aria adding Fire and Airborne before returning to Castella. That sequence is the community article's reading of the official clip. [S10] [G07]
Use this lineup as a lesson in connected triggers. It proves interaction, but the official video does not call the trio S tier, the best beginner team, or the highest-damage composition. It also does not provide equal-investment comparison against every other party. [S10]
Watch for the condition that enables the next switch and observe how each entry changes the enemy state. If the Signal does not appear consistently, verify that the required ailment or Break state was created before changing heroes. Repeat the sequence against an ordinary enemy before judging it in a boss encounter. [S01] [S10]
Ranged safety
GameBreakerGod reports Charlotte -> Johnny -> Reina as an endgame investment route and recommends Cerese + Othello + Dana as a safer ranged alternative. The release-build composite preserves those claims as one creator's successful experience. The arrow describes investment order rather than a fixed button rotation, and the ranged lineup is a comfort recommendation rather than proof of maximum damage. [G01] [G07]
The safer route is relevant when close-range pressure causes interruptions or repeated failed attempts. Range can create more time to observe boss patterns and maintain uptime. That is the release-build composite's interpretation of GameBreakerGod's route rather than a universal property of every encounter. [G07]
GamesHorizon proposes a different control-oriented group: Cerese + Reina + Othello. Its author has Cerese gather enemies with icy storms, Reina continue with Airborne attacks, and Othello handle survivors after the earlier rotations. This is a single-source community composition. Do not merge it with the Dana ranged team and claim combined verification. [G12]
Control teams
Ornette + Castella + Alex appears in both The GamesEdge and GamesHorizon as an armor-break and control option. The GamesEdge rotation uses Ornette or Alex to pressure Power Armor, create a Knockdown, and bring Castella in to exploit the vulnerable state. The author recommends it particularly for heavily armored bosses rather than every ordinary encounter. [G10] [G12]
For Airborne play, The GamesEdge recommends Reina + Lute + Castella. Its proposed sequence uses Rising Cutter or Wind Slayer from Reina, follows with Tempest Signal, brings Lute in to extend the juggle, and lets Castella finish by slamming the target down. Aria is listed as an alternative to Lute. The guide also warns that the lineup has a higher execution requirement. [G10]
GamesHorizon lists Astria + Kalien + Lute as a ranged team but describes Kalien as applying Shock while also calling her a Fire unit. That conflicts with other material identifying Kalien with Burn and Blazeflame. The disputed Shock explanation is excluded, and the lineup's detailed status logic is To be confirmed. [G02] [G12]
Choosing a team
Choose by the encounter and by the chain you can execute consistently. Test the general Bleed and Stun team when recovery and steady pressure matter. Try the armor-control party against protected bosses. Use the Airborne lineup only if its timing remains reliable, and consider an attributed ranged route when staying close creates avoidable failures. [G07] [G10] [G12]
Use a short rotation check before spending scarce materials. Confirm which first skill creates the condition and which teammate receives the Signal prompt. Then check whether the third hero can continue the sequence or cover the recovery period against both an ordinary group and a protected target. A team that completes the planned handoff consistently is a better first investment than a higher-ranked lineup whose trigger disappears when the enemy moves or resists control. [S01] [G08]
Do not invest in all six examples at once. Establish one field driver and the Signal partners that make that hero work, then improve the second team after the first can clear its intended content. This investment order is a community planning principle, not an official restriction. [G14]
Record version, equipment, Karma, skills, and difficulty when judging a result. Update 1.0.8 fixed combat states for Theresia, Sion, and Kalsion without announcing numerical balance changes. Older team videos remain launch-period evidence, and any claim that one lineup is permanently best is To be confirmed. [S07] [G08]